
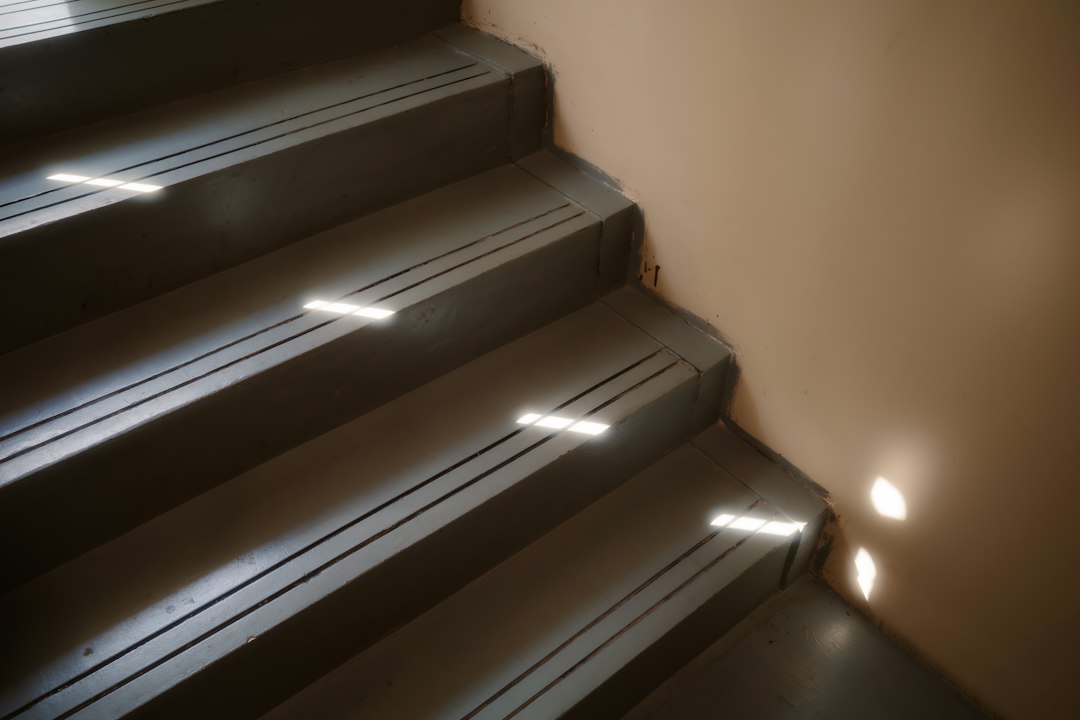

Walking up and down the stairs in the dark is an accident waiting to happen. Stair sensor lights are a fantastic solution, offering automatic illumination just when you need it, making your steps safer and brighter. However, picking the right system isn’t as simple as grabbing the first one you see. Many common mistakes can lead to dim, unresponsive, or poorly placed lights that don’t actually solve your problem. This guide will help you navigate the choices, highlighting key pitfalls to avoid so you can achieve genuinely safe and well-lit stairs.
Underestimating Sensor Type and Placement
The core of any effective stair lighting system is its sensor. Getting this wrong means your lights either won’t turn on when they should, or they’ll be on constantly, wasting energy and becoming a nuisance.
Neglecting PIR vs. Microwave Sensors
Most common stair sensor lights use Passive Infrared (PIR) or Microwave (Radar) technology. They both detect movement, but in different ways, and understanding the distinction is crucial.
PIR sensors work by detecting changes in infrared radiation – essentially, body heat. They’re great for detecting someone entering their field of view. However, if you stand perfectly still within their range, they might eventually turn off because they no longer detect a change. They also perform best with clear lines of sight. If there’s a banister or a pet walking in the way, it can trigger them unnecessarily or miss you entirely. A common mistake is using a single, wide-angle PIR sensor at the very top or bottom of a long, straight staircase. This can lead to delays in activation as you approach from a distance, or it might not detect you at all until you’re already on the first or second step, which isn’t ideal for safety.
Microwave sensors, on the other hand, emit microwave radiation and detect disturbances in its reflection. They’re much better at detecting subtle movements, even through thin walls, doors, or furniture. This means they can be hidden more effectively and still function. They also detect movement within their field, not just changes, so standing still won’t necessarily turn them off. The downside is that they can be too sensitive, sometimes detecting movement in an adjacent room or even outside a thin wall, leading to false activations. For stairs, this can mean your lights turn on when someone walks past the wall parallel to your staircase, which is annoying and wastes energy. A common mistake is choosing microwave sensors for staircases located directly adjacent to frequently used hallways or living areas without considering the potential for bleed-through detection.
Poor Sensor Positioning and Coverage
Where you place your sensors dictates their effectiveness. A single sensor at the very top or bottom of a long staircase is rarely sufficient.
Consider the «approach zone.» You want the lights to activate before you step onto the first stair, not as you’re already halfway up or down. For a standard straight staircase, this usually means placing sensors high enough to detect a person approaching from both the top and bottom landing. Many systems benefit from having at least two sensors – one at the top and one at the bottom, facing the direction of approach.
For L-shaped or U-shaped staircases, or those with intermediate landings, you might need more sensors to ensure continuous, seamless detection. A frequent error is not accounting for blind spots around corners or landings, causing the lights to flicker off prematurely or not activate at all as you navigate a turn. Think about the entire path a person takes.
Also, consider sensor height. Too low, and it might only detect legs, missing a person carrying something or a small child. Too high, and it might detect movement too far away or miss shorter individuals. A typical mounting height between 3-5 feet (about 0.9 to 1.5 meters) usually works well, but always check the manufacturer’s recommendations and adjust based on your specific staircase geometry and typical users (e.g., if you have very young children or elderly family members).
Finally, avoid placing sensors directly facing a heat source (like a vent) or a window where direct sunlight can hit them, as this can interfere with PIR sensor operation. For microwave sensors, be mindful of high-traffic areas on the other side of walls.
Choosing the Wrong Light Brightness and Color Temperature
It’s easy to assume any light will do, but the brightness and color of your stair lights significantly impact safety and aesthetics.
Overlooking Lumens and Wattage for Practical Brightness
Many people buy based on «wattage equivalent» or simply assume «LED means bright.» This is a mistake. Lumens are the key metric for brightness. For stair lighting, you need enough lumens to clearly illuminate each step, highlight step edges, and reveal any potential obstacles.
A common pitfall is opting for lights that are either too dim or excessively bright. Too dim, and you still have shadowy areas and trip hazards. Think about the contrast between the light and the step surface. If your steps are dark wood, you’ll need more light than if they’re light-colored carpet. A general guideline might be 20-50 lumens per linear foot of step, but this can vary wildly depending on ambient light, step materials, and personal preference.
On the other hand, lights that are too bright can create glare, especially if they are exposed and aimed directly at eye level. This can be disorienting and actually reduce visibility for someone with sensitive eyes or visual impairments. The goal is even, gentle illumination, not a spotlight. Always check the lumen output and consider if it’s adjustable.
Ignoring Color Temperature (Kelvin) for Ambiance and Visibility
Color temperature, measured in Kelvin (K), describes the «warmth» or «coolness» of the light. This isn’t just about aesthetics; it impacts how clearly you perceive things.
Warmer lights (2700K-3000K) produce a soft, yellowish glow, similar to incandescent bulbs. They create a cozy, inviting atmosphere. However, for task lighting like stairs, excessively warm light can sometimes make it harder to distinguish subtle details or contrasts on the steps.
Cooler lights (4000K-5000K) mimic natural daylight, appearing whiter or even slightly bluish. They tend to enhance alertness and improve color perception, which can be beneficial for clearly seeing step edges and potential hazards.
A mistake is choosing a color temperature solely based on what matches your existing living room lights without considering the functional aspect for safety. For stair lighting, a neutral white (around 3500K-4000K) often strikes the best balance between being warm enough to feel welcoming and cool enough to provide clear visibility. If your home has a very specific aesthetic, you might lean slightly warmer or cooler, but always prioritize visibility. Some systems even offer adjustable color temperature, which can be a nice bonus.
Overlooking Power and Wiring Considerations
This is where many DIY installations go wrong, leading to frustration, flickering lights, or even electrical hazards. Proper power and wiring are fundamental.
Underestimating Power Supply Requirements and Voltage Drop
Not all LED lights are created equal, and their power requirements vary. Most dedicated stair light systems use low voltage (e.g., 12V or 24V DC), which requires a transformer or power supply to convert your household AC power.
A common mistake is buying a power supply that is too small for the total wattage of all your lights. If your power supply is rated for 60W, and you connect 20 lights that each draw 5W, you’re trying to pull 100W, which will overload the supply. This can lead to dimming, flickering, overheating, or even complete failure of the power supply and lights. Always calculate the total wattage of all your lights and choose a power supply with at least a 10-20% buffer for longevity and efficiency.
Another often-overlooked issue is voltage drop, especially with long runs of low-voltage wiring. As electricity travels through a wire, some voltage is lost over distance. If your wires are too thin or too long, the lights farthest from the power supply might appear dimmer than those closer to it. This can result in uneven illumination, which defeats the purpose of safe stair lighting. Always use appropriately gauged wire based on the total current (amperage) and the length of your wire runs. The manufacturer’s instructions for wire gauge are your best friend here.
Neglecting Wiring Concealment and Safety
Exposed wires are not only unsightly but also a tripping hazard and a potential safety risk. Planning your wiring before installation is critical.
The biggest mistake is ignoring wiring concealment. This can lead to an unprofessional look and, more importantly, create hazards. For new builds or major renovations, running wires within walls is ideal. For existing staircases, you might need to get creative. Options include:
- Behind baseboards or trim: If you can temporarily remove or create channels behind existing trim.
- Surface-mounted channels/conduits: Paintable channels that blend with your wall color can be discreet.
- Under stair treads: If the underside of your stairs is accessible, this can be a clean solution.
- Along the stringer: Recessing lights directly into the stair stringer (the side support) can conceal wiring effectively.
Never simply run wires loosely along the wall or floor where they can be snagged or damaged. Ensure all connections are secure and properly insulated to prevent shorts or electrical fires. If you’re not comfortable working with household electrical systems, it’s always best to consult or hire a qualified electrician. Even for low-voltage systems, improper installation can lead to problems.
Ignoring Durability and Maintenance Factors
Stair lights, especially if integrated into the structure, aren’t something you want to replace frequently. Choosing the right components for longevity and ease of maintenance is key.
Forgetting IP Ratings for Durability
The Ingress Protection (IP) rating indicates how well an electrical enclosure protects against solids (like dust) and liquids (like water). While most indoor stair lights aren’t exposed to direct rain, dust and accidental spills are always a possibility.
A common mistake is assuming all indoor lights are equally protected. If your staircase is in a high-traffic area, or perhaps near an entry point where moisture or dirt might be tracked in, a higher IP rating can be beneficial. For general indoor use, an IP20 rating protects against solid objects larger than 12.5mm (like fingers), but offers no water protection. An IP44 or IP54 rating provides better protection against dust and splashes, which is a good idea for areas that might get damp from cleaning or accidental spills.
If your staircase is open to a basement or garage, or in a semi-outdoor enclosed porch, you might need an even higher IP rating (e.g., IP65) to protect against more significant moisture or dust ingress. Neglecting the IP rating can lead to premature failure of the lights due to dust accumulation affecting electronics or corrosion from moisture.
Overlooking Replaceability and Future-Proofing
LED lights have a long lifespan, but they aren’t immortal. When a light inevitably fails, how easy is it to replace?
A major mistake is choosing integrated systems where the LED module is permanently sealed into the fixture and difficult or impossible to replace. While these often offer a very clean, discreet look, if one light fails, you might have to replace an entire section or even break into your wall to get at the fixture. This can be incredibly frustrating and expensive.
Consider systems where the LED module or bulb can be easily swapped out. Even if it’s a proprietary LED module, look for designs that allow access without damaging surrounding finishes. For example, some step lights use a bezel that can be easily removed to reveal the light source. This makes maintenance much simpler and extends the life of your overall installation.
Also, think about component availability. If you buy a highly specialized, obscure brand, will you be able to find replacement parts in 5-10 years? Sticking to reputable brands or systems that use more standardized components (even if proprietary) can save you headaches down the line.
Disregarding Control and Customization Options
Beyond simply turning on and off, how you interact with your stair lights can greatly enhance their usefulness and efficiency.
Skipping Adjustable Timers and Detection Sensitivity
Most sensor lights have a built-in timer that dictates how long they stay on after detecting movement. A common mistake is settling for a fixed, non-adjustable timer.
If the timer is too short (e.g., 10 seconds), the lights might turn off while you’re still on the stairs, leaving you in the dark. This is not only annoying but also unsafe. If it’s too long (e.g., 5 minutes), the lights will stay on unnecessarily, wasting energy and potentially being a nuisance. Look for systems that allow you to adjust the «hold time» – typically ranging from 30 seconds to several minutes – so you can fine-tune it to your specific needs. Consider the average time it takes to ascend or descend your stairs, plus a small buffer.
Similarly, detection sensitivity (especially for microwave sensors) can often be adjusted. If your lights are constantly being triggered by pets, or by someone walking past an adjacent wall, being able to dial down the sensitivity can prevent false activations. Conversely, if the sensor isn’t picking you up reliably, you might need to increase sensitivity. Don’t assume all sensors are plug-and-play perfect; adjustability is a huge advantage.
Forgetting Ambient Light Sensors and Smart Integration
An ambient light sensor (often called a photocell or dusk-to-dawn sensor) prevents your stair lights from turning on during the day when there’s plenty of natural light. This is a crucial feature for energy efficiency that is frequently overlooked.
The mistake here is buying a system without an ambient light sensor, or one where it’s poorly calibrated. If the lights come on at noon on a sunny day, you’re wasting energy. Conversely, if they don’t come on until it’s pitch black, you’ve lost the safety benefit during twilight hours. Look for systems that allow you to adjust the lux level (light intensity) at which the sensor activates. This means you can customize when they start working based on how much natural light your staircase receives.
Beyond basic ambient light sensing, consider smart home integration. While not strictly necessary for safety, connecting your stair lights to a smart home hub (like Apple HomeKit, Google Home, or Amazon Alexa) can offer advanced control. This might include:
- Scheduled operation: Only activate sensors between certain hours.
- Remote control: Turn lights on/off from your phone.
- Scene integration: Have the stair lights brighten with other pathway lights when you arrive home.
- Advanced logic: Integrate with other sensors, like door sensors, to anticipate your movement.
While not everyone needs a fully smart system, even basic smart capabilities like scheduling or remote override can add convenience and flexibility, turning a simple safety feature into a seamless part of your home’s ecosystem. Ignoring these options means missing out on potential enhancements to functionality and energy savings.
